Why You Can't Just Stretch an Image
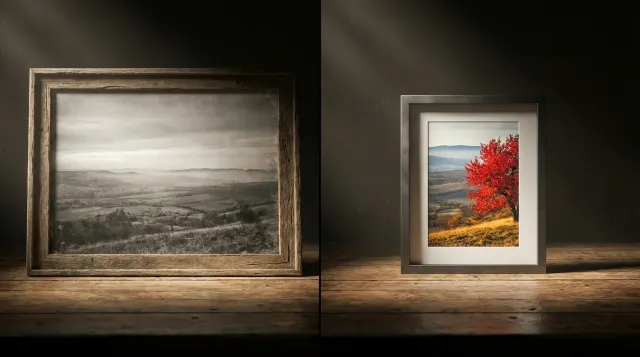
Every digital image is a grid of pixels at a fixed size. When you enlarge a photo in an image editor, the software has to "guess" new pixels. Classic algorithms (bicubic or bilinear interpolation) simply average neighboring points — hence the characteristic blur and loss of fine detail.
This is especially noticeable on hair texture, eyelashes, small text, and architectural details. The larger the upscale, the worse the result: at 2× interpolation loses sharpness, and at 4× the image turns into a watercolor.
Interpolation vs Neural Network: What's the Difference
Interpolation works mathematically — it takes values from neighboring pixels and computes an average. A neural network works differently: it recognizes objects in the photo (face, text, foliage) and reconstructs textures based on training on millions of images. The result is not blurring, but reconstruction of details that weren't in the source file.
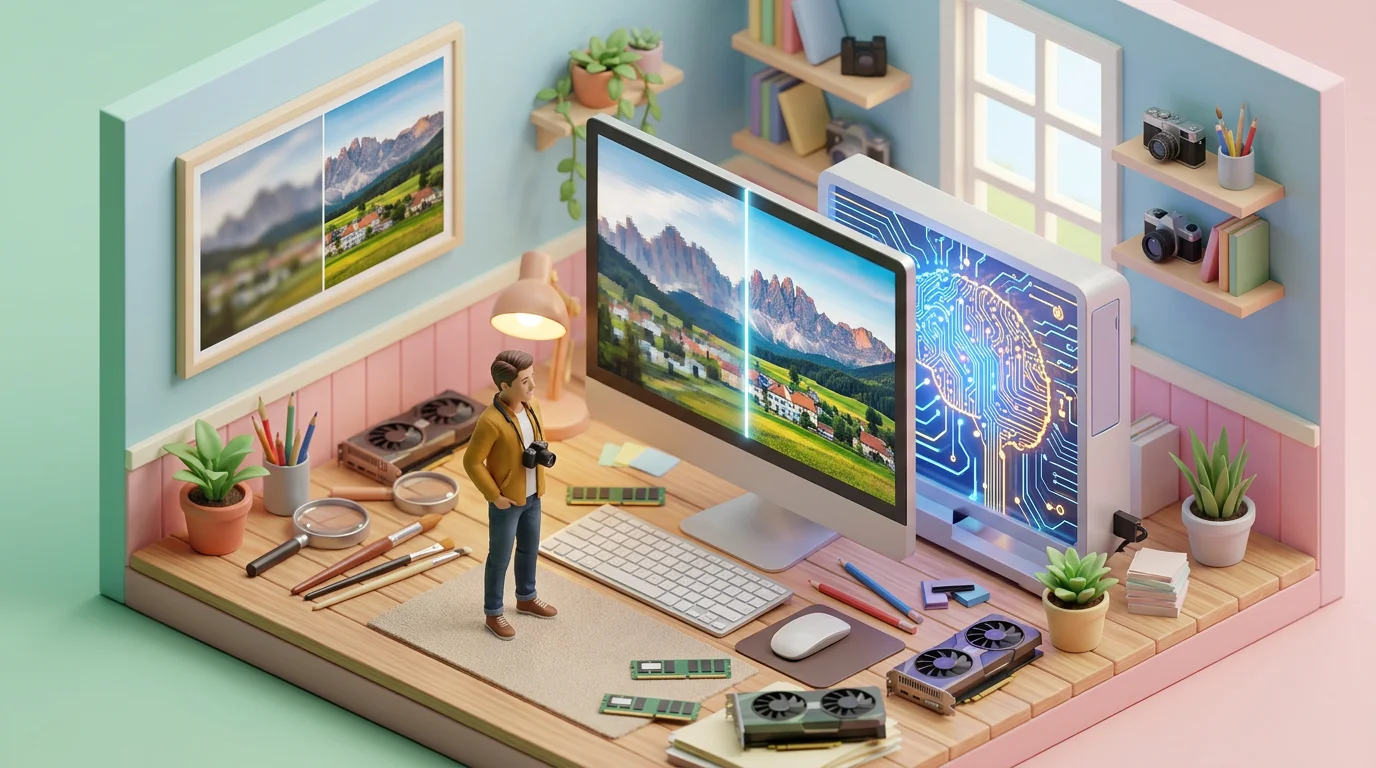
How AI Upscaling Works
Neural network models use knowledge gained from millions of "low resolution → high resolution" pairs. The model learns to recognize patterns — skin texture, building edges, color transitions — and reconstructs details that weren't in the source file.
The Real-ESRGAN architecture used by UseToolz AI Image Upscaler is specifically trained on real photos with natural artifacts: JPEG compression, camera noise, slight defocus. This is why it handles not only perfect studio shots but also regular smartphone photos.
The Role of GAN in Upscaling
Real-ESRGAN is a Generative Adversarial Network (GAN) consisting of two parts. The Generator receives a low-resolution image and creates an enlarged version, adding details based on learned patterns. The Discriminator evaluates how closely the result resembles a real high-resolution photo, pushing the generator to continuously improve quality. This competition between two networks produces results indistinguishable from real photographs.
When Upscaling Helps and When It Doesn't
Good candidates for upscaling:
- Photos for print — a 1000×1500 source needs to be printed at A3 format
- Icons and logos for Retina displays — 2× upscale to @2x version
- Old low-resolution photos — family archives, scans
- Video frames — upscale a 720p screenshot to a crisp image
- Marketplace images — minimum size requirements of 2000×2000
When results will be weak:
- Heavily compressed JPEGs with visible block artifacts
- Images with lots of small text
- Photos with heavy noise or defocus across the entire frame
Formats and File Size: What to Choose
After upscaling, the image can be saved in three formats, and the choice affects file size:
- PNG — lossless, maximum quality. Largest file size. Best for graphics, logos, screenshots.
- JPEG — lossy, but significantly smaller files. Optimal choice for photographs. At 90% quality, the difference from the original is virtually unnoticeable.
- WebP — modern format, best quality/size ratio. 25–35% lighter than JPEG at comparable quality. Supported by all modern browsers.
Typical example: a 500 KB photo after 2× upscale weighs ~5 MB in PNG, ~800 KB in JPEG (92% quality), and ~600 KB in WebP (90% quality). For further file size optimization, use image compression, and for format conversion — the format converter.
Face Enhancement: When to Enable GFPGAN
When upscaling portrait photos, it's worth enabling the "Face Enhancement" option. It uses a separate GFPGAN neural network specialized in restoring facial details: eyes, eyebrows, skin texture, lip contours.
For landscapes, product photography, or graphics, it's better to leave this option off — it may introduce unwanted artifacts on areas the model mistakenly identifies as a face.
Which Photos Benefit from GFPGAN
- Portraits and selfies, especially at 4× upscale
- Group photos where faces occupy a small part of the frame
- Old family photos at low resolution
- Scanned documents with photographs (passport, ID)
Tips for Better Results
- Start with 2× — this mode gives the most consistent results. Use 4× only if 2× isn't enough.
- Prepare your source — if the photo has noise, run it through a denoiser first. The cleaner the input, the better the output.
- Compare formats — after upscaling, download the result in WebP and PNG, compare sizes. WebP often saves 70–80% with indistinguishable quality.
- Consider the target use — JPEG/WebP is sufficient for web, PNG lossless is better for print.
- Don't upscale twice — if 2× isn't enough, it's better to do 4× from the original once rather than 2× twice.
Preparing Images Before Upscaling
Result quality directly depends on the quality of the source. A few steps to help you get a better result:
- Crop unnecessary areas — the fewer unnecessary regions, the faster processing and more accurate the result.
- Remove JPEG artifacts — if the source is heavily compressed, run it through a denoiser before upscaling.
- Check dimensions — our tool accepts images up to 2048×2048 px. If your original is larger, use image resize to reduce it before upscaling.
Frequently Asked Questions
Is AI Image Upscaler Free?
Yes. Unregistered users can process up to 3 images per day, registered users — up to 10. The limit resets every 24 hours.
Is It Safe to Upload Photos?
The image is sent to the server for neural network processing but is automatically deleted after you download the result. We don't store or use your photos.
Which Is Better: 2× or 4×?
For most tasks, 2× is sufficient — results are more stable with fewer artifacts. The 4× mode is useful when significant enlargement is needed (e.g., from 500×500 to 2000×2000), but some photos may show slight "plasticity" in textures.
What Formats Are Supported?
Input: JPEG, PNG, WebP. Output: the same three formats to choose from. We recommend WebP for web (smallest size) and PNG for print (lossless).
What's the Maximum File Size?
Up to 1 MB input, maximum resolution — 2048×2048 pixels. If your image is larger, reduce it first using the resize tool.
How Does the Upscaler Differ from Regular Resizing?
Regular image resizing uses mathematical interpolation and produces blurry results when enlarging. The AI upscaler reconstructs details using a neural network — textures, edges, and text look sharp even at 4× enlargement.